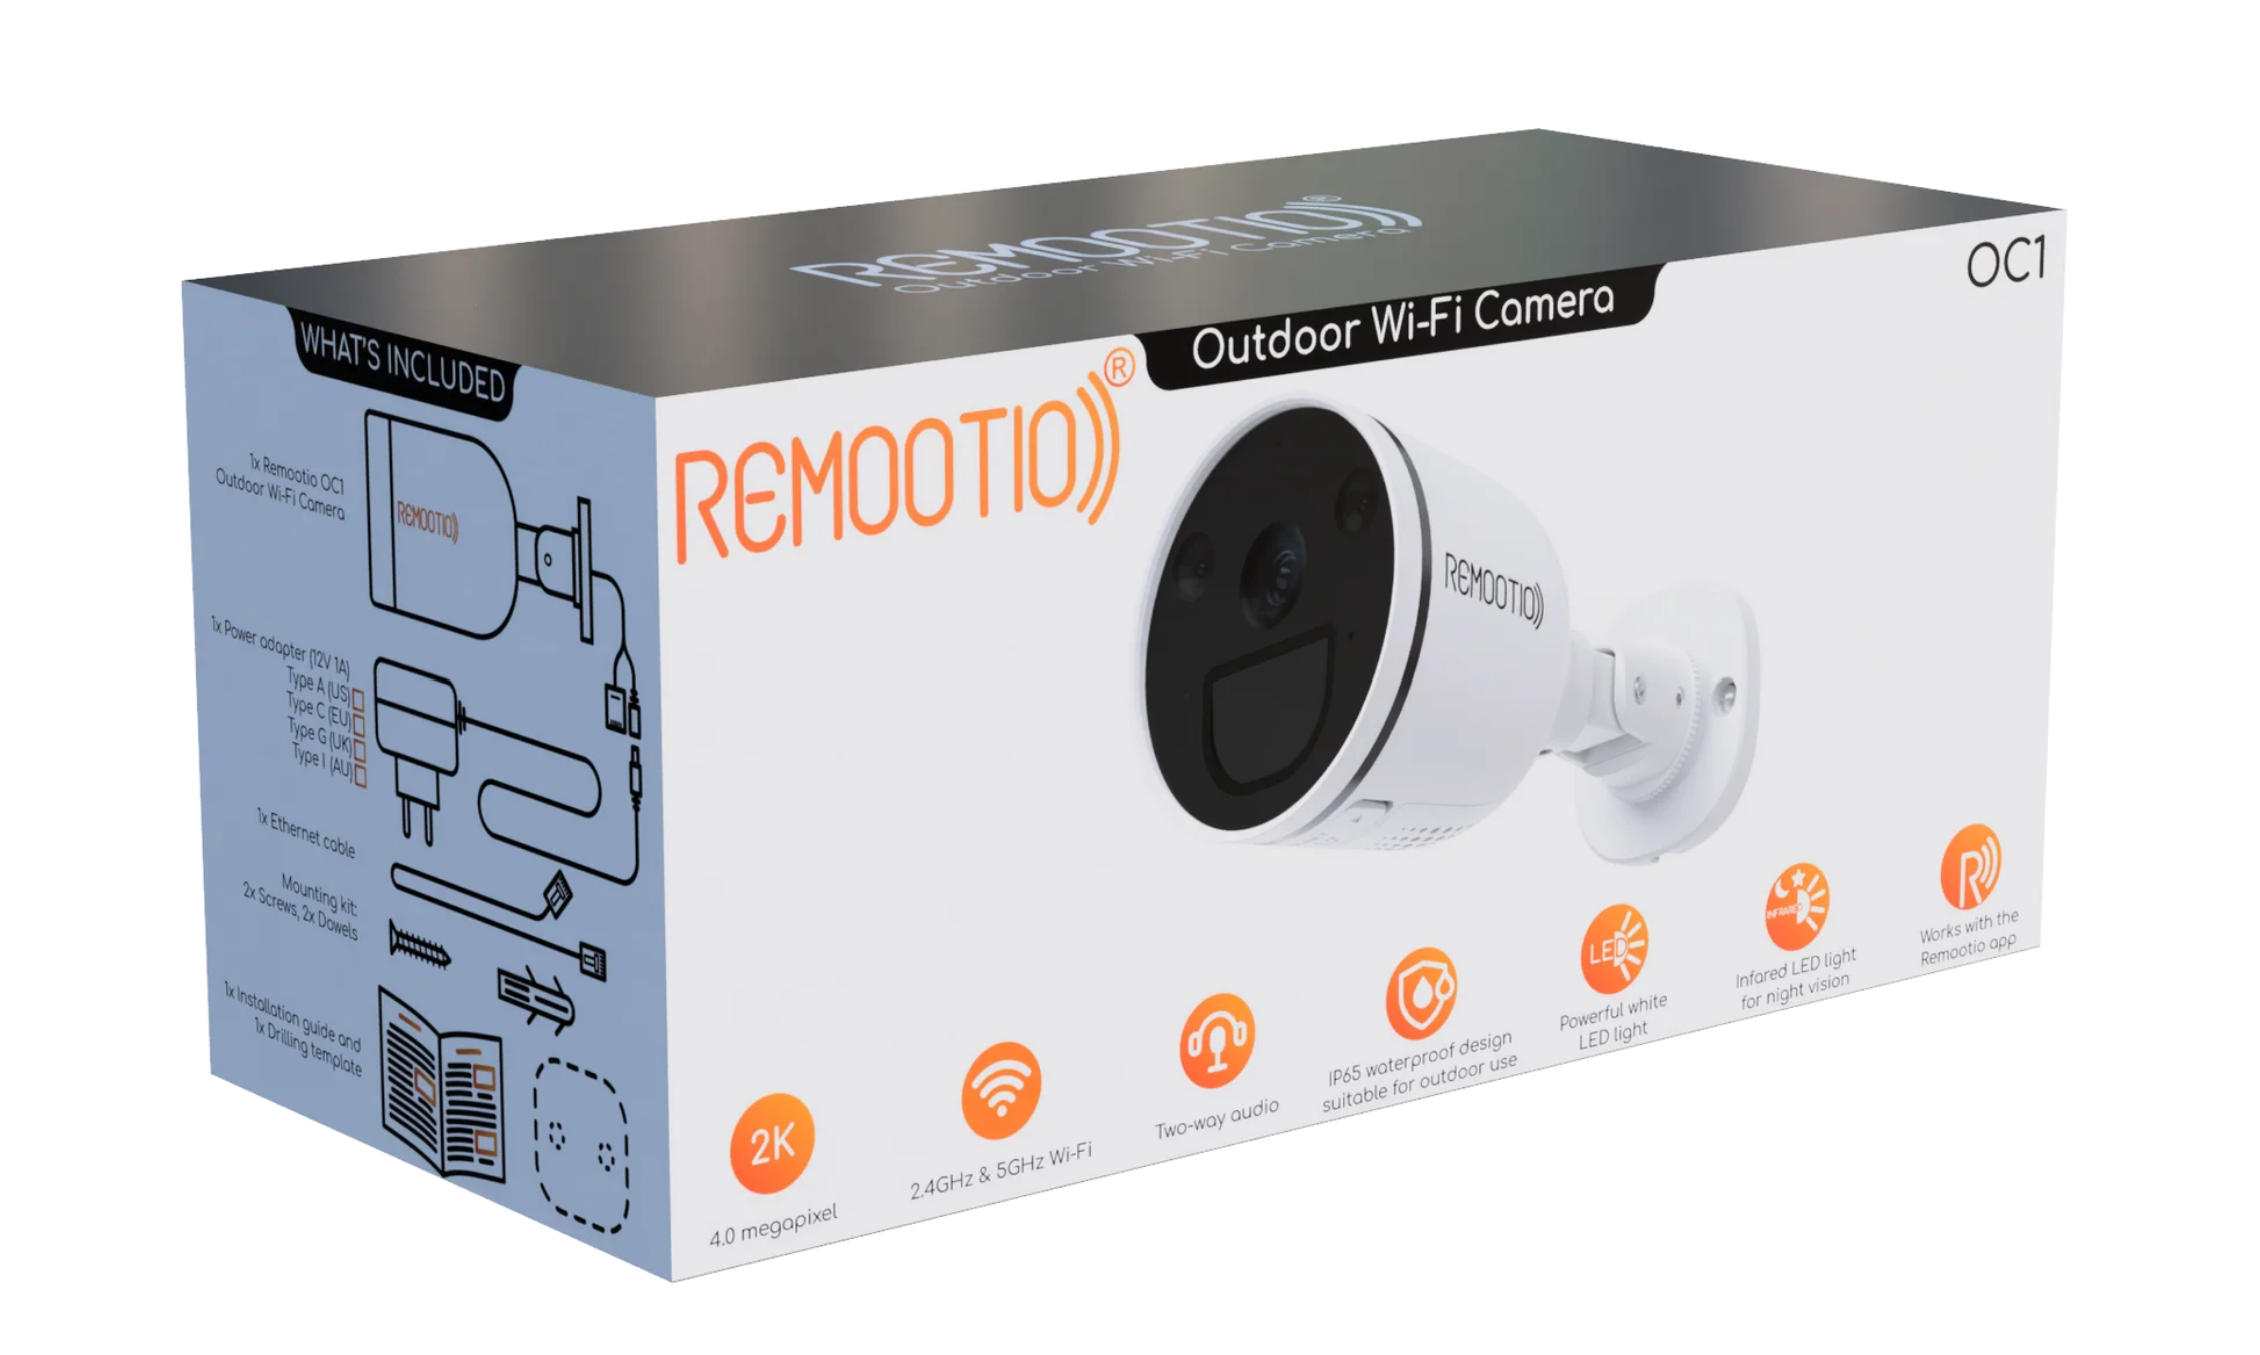
How to Install your Remootio OC1 Outdoor Camera
If you have purchased your OC-1 from our website then you do not need to register a warranty but if you have purchased from amazon or elsewhere then make sure you submit a warranty submission for your purchase so we can assist you in the future if you have any issues. See below for the full How to guide for your OC1 Outdoor Remootio Camera.

Remootio OC1 Outdoor Camera Setup Guide
This guide shows you how to set up a Remootio OC1 outdoor camera with the Remootio app. After setting up the camera you will be able to see your gate and garage door right from the app where you can also control it.
1. Factory reset camera
Make sure the camera is in the factory reset state. If it is not please reset it. On the Remootio OC1 camera you can do this by pressing the reset button located at the bottom or the camera behind a plastic plug until you hear "reset succeeded"
2. Setup in the Remootio app
2.1. Swipe to the card of the Remootio device in the app you want to pair the camera with. Enter the settings menu and scroll down to Camera.
2.3. Power on your camera (if it was already plugged in disconnect the power and reconnect is). Wait until you hear "Hello foscam". At this point the LED on a Foscam S41 device should be blinking (Note: for other models the LED may behave differently)
2.5. Enter the SSID and password for your Wi-Fi network and press next. For Foscam S41 models by this time you already should have heard "Ready for Wi-Fi configuration"
Note: If your Foscam camera is not Wi-Fi enabled, and is plugged in via an ethernet cable:
Make sure your phone is connected to the same network where the camera is plugged into
Write any characters into the SSID and password field and continue to the next step.
When the QR code is displayed, ignore it and just hit next and continue the setup process from 2.7 in this guide.
2.7 After you've heard "Wireless connection succeeded" you can go to the next step.
Make sure that your smartphone is connected to the same Wi-Fi network you have just connected your camera to
Make sure your Remootio app is connected to your Remootio by checking the connection icons at the top of the screen
2.4. Tap next, and scan the QR code on the camera that contains the device identifier
2.6 Scan the QR code displayed by your smartphone with the camera. In case of Remootio OC1 camera models once the QR code is recognized the camera will say "Wi-Fi connecting" and upon successful connection it will say "Wireless connection succeeded".
If you are having trouble getting the QR code scanned by the camera try the following steps:
Set the brightness of your smartphone's screen to maximum
Wipe the camera lenses with a clean cloth
Move the QR code slowly farther from the camera, then move it slowly closer again.
Try rotating the QR code by 90 degrees in both directions and moving it closer/farther
Print the QR code on a piece of paper and try scanning that
2.8 Tap Configure camera. After the configuration is finished you should see camera in the app.
Congratulations, you have successfully configured your Remootio OC1 outdoor camera with the Remootio app.
Order your Remootio Outdoor camera from Charged Services here
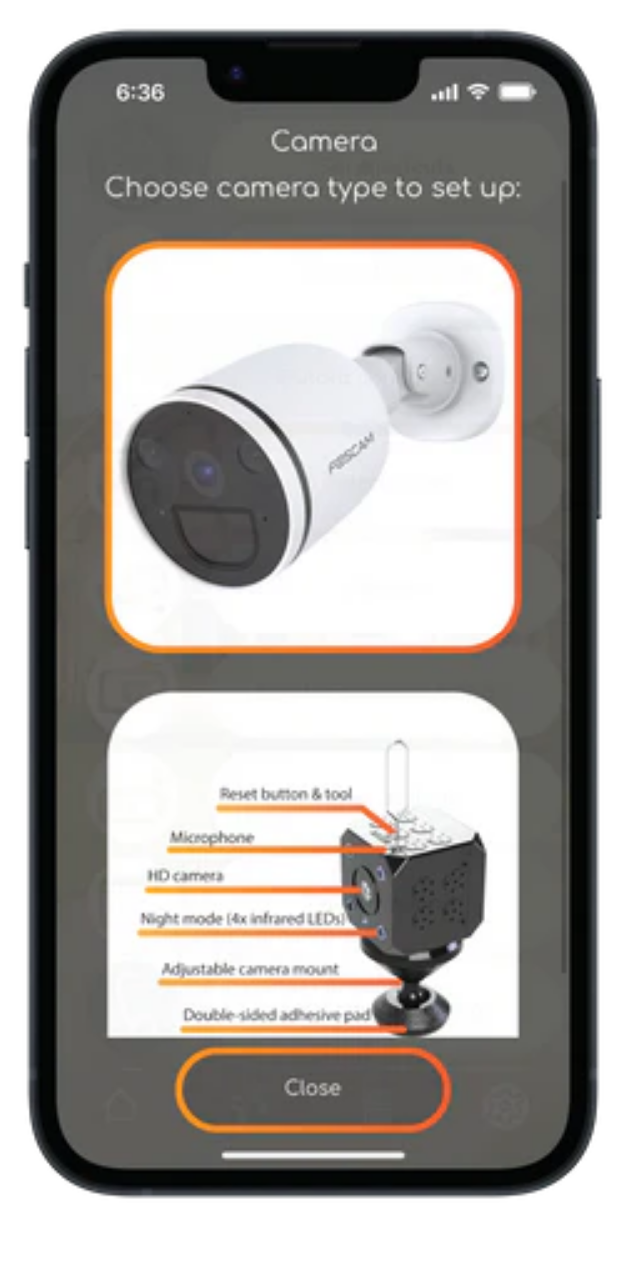
2.2. Select the Foscam camera from the list of available camera types.


