Remootio 3 UK Warranty Registration

Register your Remootio 3 Purchased from Charged
If you have purchased your Remootio 3 from Charged UK on Amazon or directly via our website, please use the form below to register your device for our 12-month warranty. The warranty for Remootio 3 is provided directly by Remootio. In case of a fault with the device, it needs to be shipped back to Hungary for assessment by Remootio. Please note that issuing a refund may take weeks.
At Charged, we have great confidence in the quality of Remootio. We offer a warranty directly to you, handle returns here in the UK, and issue replacements directly. This warranty covers only the product, and replacements are issued upon receipt of a faulty unit. We do not provide refunds for faulty units; we only replace them. If you need an advanced replacement, you will need to purchase a new unit, and we will refund your original purchase using your original payment method.
If you require technical assistance, please refer to the Remootio 3 Technical Walkthrough. If you still have questions, please fill out the technical help form at the end of this page.

Remootio 3 Technical Help
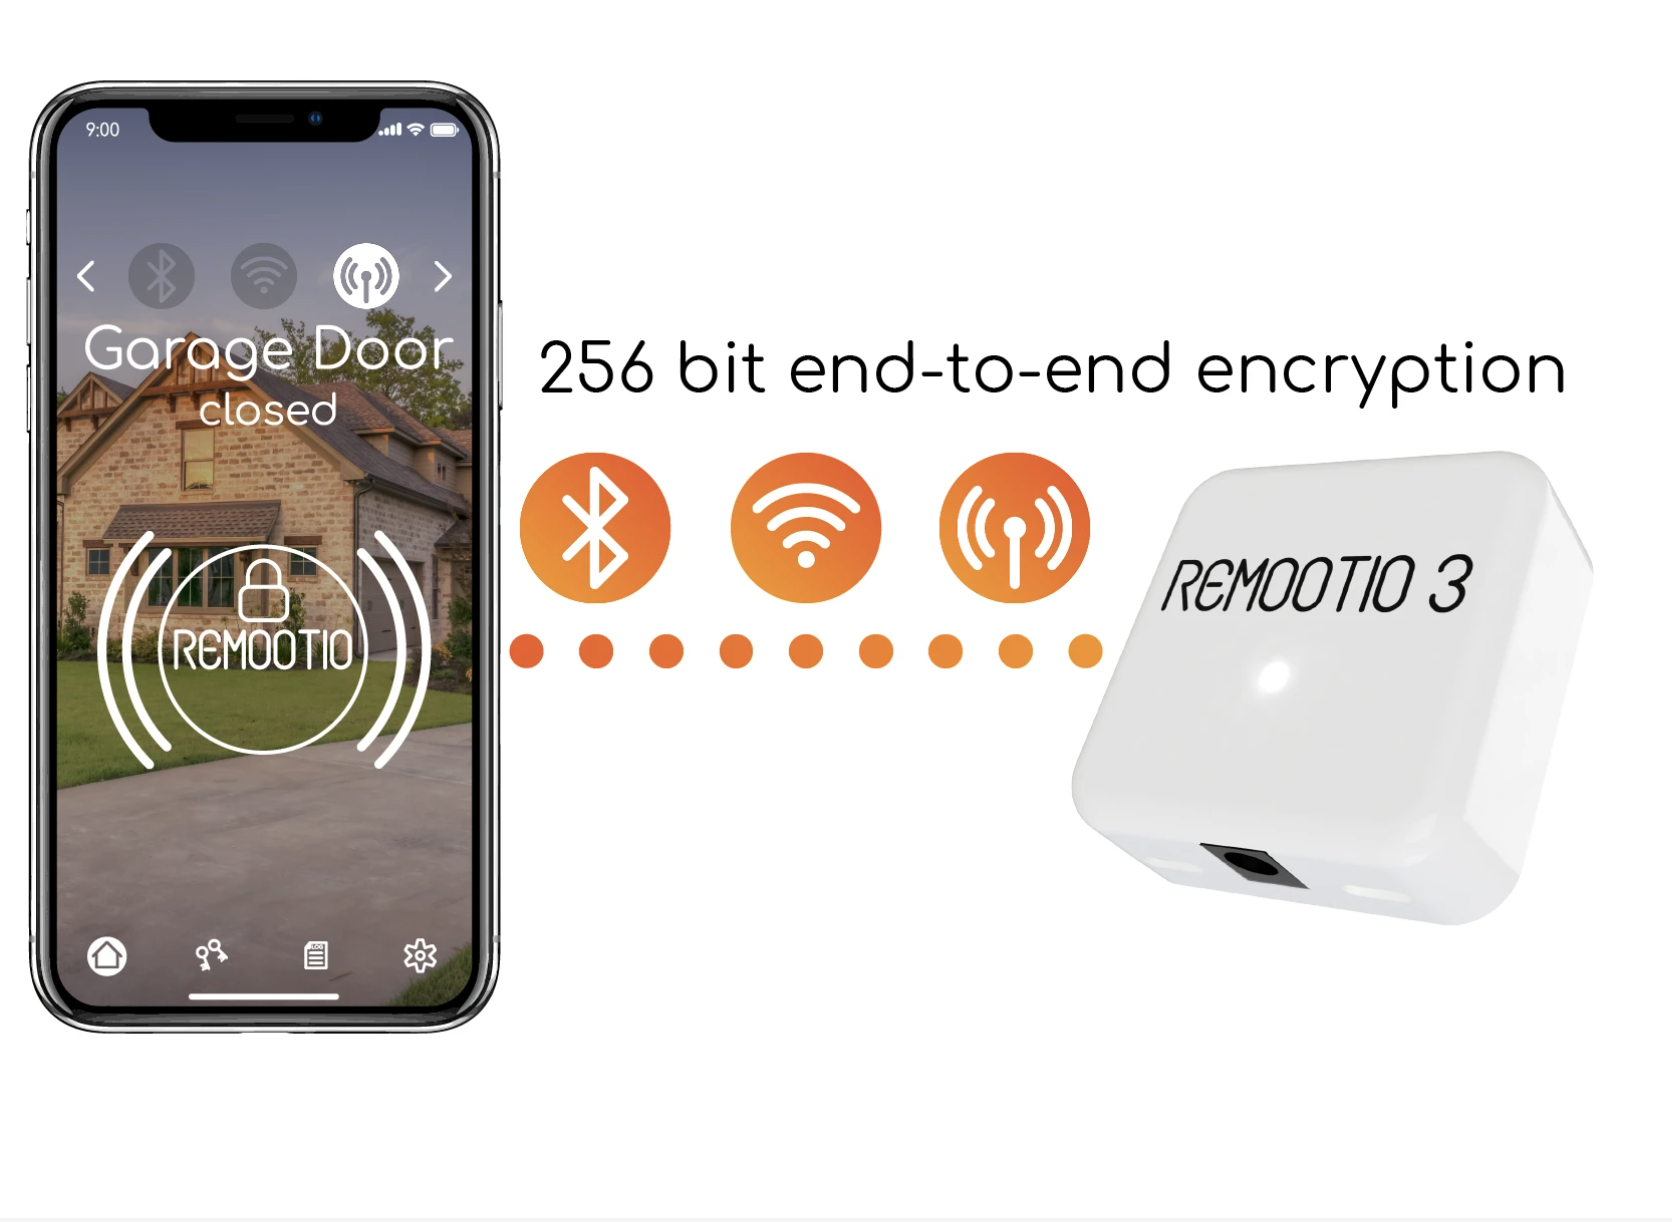
Remootio is compatible with virtually all gate and garage door systems. It operates by utilizing 2 pulsing relays to trigger the normal operation of your gate or garage door.
However, the most frequently asked question we receive is how to power the Remootio device. It comes with a USB lead and a DC Jack input. However, most installations do not have a USB port available and may lack a spare socket.
During installation, we often recommend splitting the provided USB cable, as it only contains 2 wires. These wires can then be connected to the 24v DC output terminals of most gate and garage door controllers. The device is protected by an internal 1A fuse, which can be replaced if necessary and is available in our store.
Below, you will find some of the most common installation diagrams for our customers in the UK.
Compatible gate openers include:
Roger Technology
BFT
CAME
Beninca
GIBIDI
Topens
Check using the compatibility Button below to check the database with diagrams.
Remootio Compatibility Checker
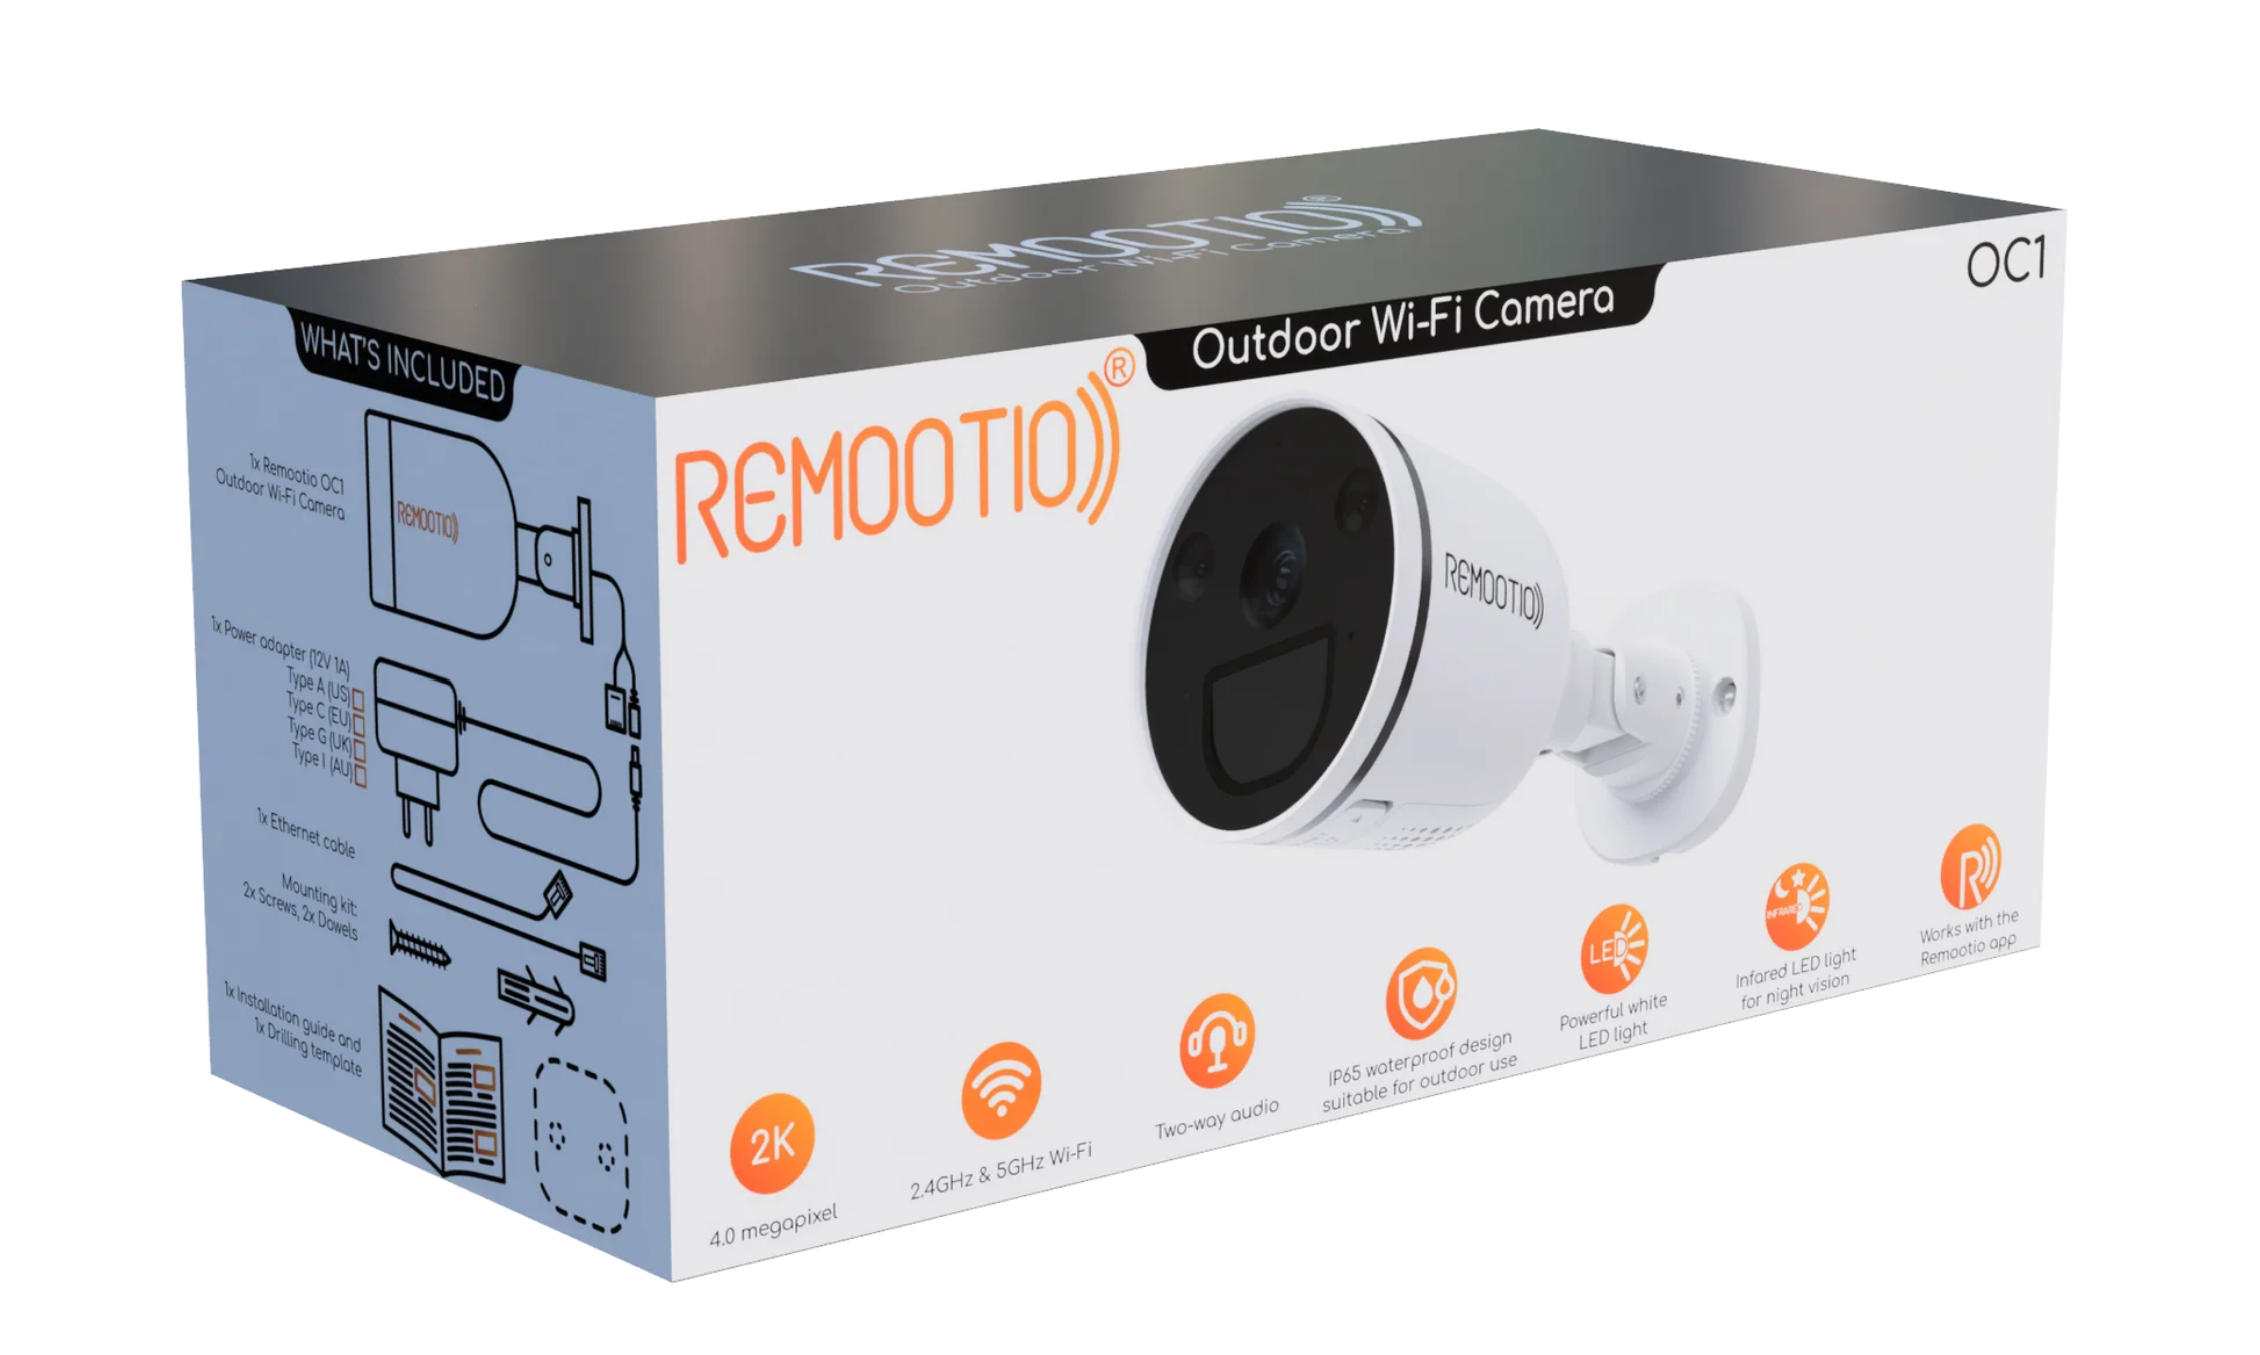
Have you Checked our Store for additional Remootio Accessories?
We stock a range of Accessories for your Remootio 3 Installation and offer the best advice when it comes to securing your property while making the most out of your remootio.


Remootio Features and Installation
Our Youtube channel has all the information you need to know about how to install your Remootio 3 device.